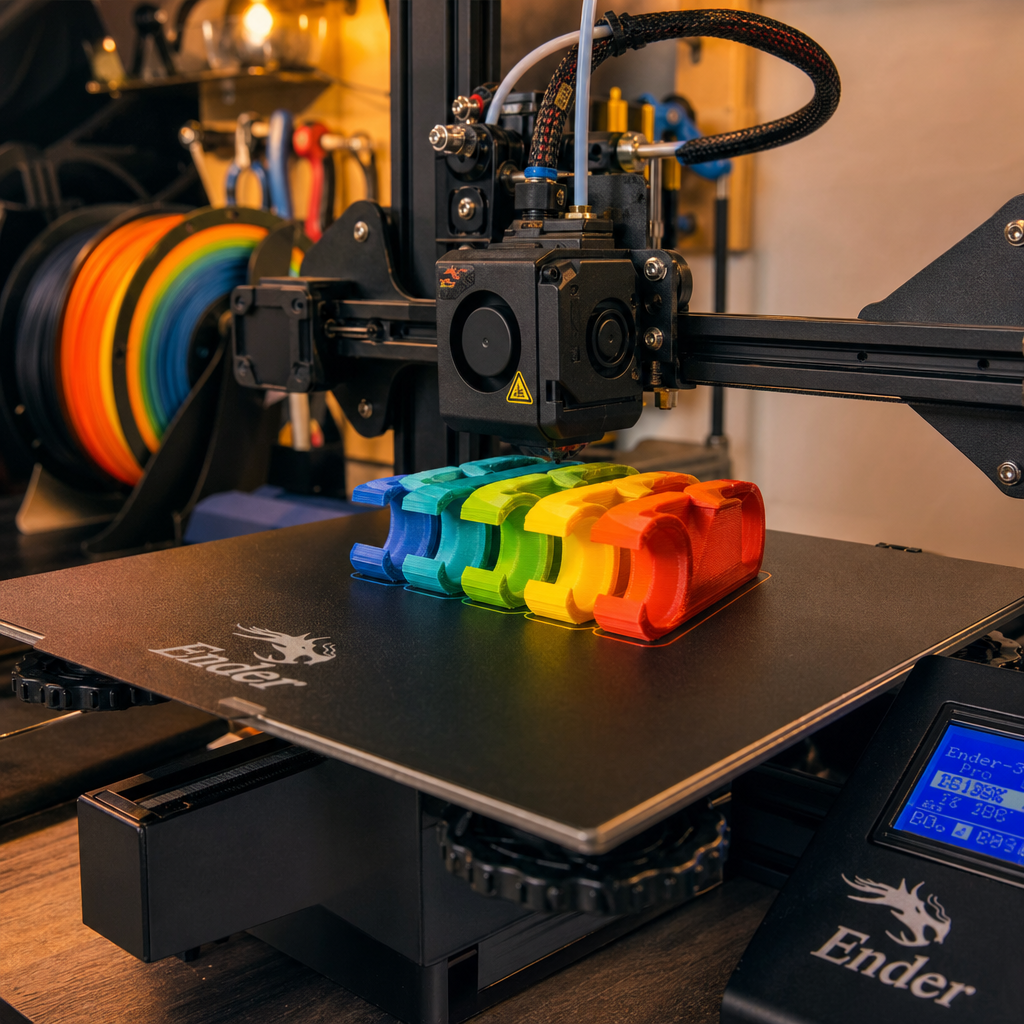
I’ll be honest with you: my 3D printer has probably saved my marriage. That sounds dramatic, but hear me out. Before I got into 3D printing, our kitchen drawers were a tangle of charging cables, the kids’ bookshelves looked like a bomb had hit them, and I’d lost count of how many half-empty bags of rice had spilled across the worktop. Now, instead of buying cheap plastic organisers from Amazon that break within a week, I fire up my Bambu Lab P2S in the garage and print something that actually fits the exact space, in the exact colour, and does the exact job we need.
The beauty of 3D printing for family life isn’t the flashy stuff. It’s the boring stuff. The clip that holds your cables tidy. The gadget that squeezes the last bit of toothpaste from the tube. The little hook that stops your broom falling over every time someone walks past. These are the prints I come back to again and again, and they genuinely make our house run smoother.
If you’ve got a printer gathering dust, or you’re thinking about getting one, this is the article that’ll convince you it’s worth the bench space. I’ve picked five prints that solve real problems in a real family home. Every one of them is beginner-friendly, uses basic PLA filament, and costs less than a coffee in materials. Let’s get into it.
1. The Cable Organiser That Tamed Our Desk Chaos
If your house is anything like ours, there’s a drawer somewhere that’s basically a cable graveyard. Lightning cables, USB-C cables, random micro-USB leads that you’re keeping “just in case.” The worst offender in our house was a desk buried under cables draped off the back, tangled around chair legs, disappearing into the void.
The portable cable organiser is one of the simplest and most satisfying prints you’ll ever do. It’s essentially a spool with a twist knob that lets you wind up individual cables and store them neatly. I printed five of these in different colours so each family member could have their own, and the kids actually use them, which is the real miracle.
Where to find it: Search “portable cable organiser” on Printables or Thingiverse . There are dozens of variations. Estimated print time: 1–2 hours per organiser Filament: Standard PLA, any colour. Uses roughly 20–30g, so you’re looking at about 40–60p in material. Difficulty: Absolute beginner. No supports needed on most versions.
I printed ours in black, white, blue, red, and green. The boys immediately claimed the blue and red ones. Some things never change.
2. The Bag Clip With a Built-In Pour Spout
This one blew my mind when I first found it. It’s a bag clip, but it has a screw-on cap and a built-in pour spout. You clip it onto a bag of coffee, rice, cereal, whatever, and it transforms the floppy bag into something that pours cleanly and seals shut. No more wrestling with those useless fold-and-hope-for-the-best closures.
We use ours on the coffee bag (essential), the bag of basmati rice (game-changer), and a giant bag of oats. It’s one of those prints that makes you wonder why this isn’t just a normal product you can buy everywhere. Actually, you can buy similar things, but they don’t always fit properly. These print-your-own versions are designed to clip onto standard bag widths, and if they don’t fit your specific bag, you can scale the model up or down in your slicer. Try doing that with something from Tesco.
Where to find it: Search “bag clip pour spout” on Printables. The most popular version has a ratchet-style clip. Estimated print time: 2–3 hours (the screw thread takes a bit longer) Filament: PLA is fine for dry goods. Use PETG if you want something slightly more durable and heat-resistant. Around 40–50g of material, so roughly 75p–£1.25. Difficulty: Easy. The screw thread prints in place on most well-calibrated printers.
Personal note: I’ve printed about eight of these now because I keep giving them away. My mum asked for two, a colleague wanted one for his protein powder. It’s the print that converts non-believers.
3. The Toothpaste Tube Squeezer
Every family has the toothpaste argument. Someone squeezes from the middle, leaving a mangled tube with paste trapped at the top and nothing coming out the bottom. The ratchet toothpaste tube squeezer fixes this permanently.
It’s a small device with a ratcheting mechanism. You slide the bottom of the tube into it and click it forward as you use the toothpaste. It forces every last drop toward the nozzle. It sounds trivial, but when a decent tube of toothpaste costs a few quid, getting an extra week out of each tube adds up across a year. Plus, it just looks satisfying sitting on the bathroom shelf.
Where to find it: Search “ratchet toothpaste squeezer” on Printables. The most downloaded version has a clever print-in-place ratchet. Estimated print time: 1.5–2 hours Filament: PLA works perfectly. Around 25–35g of material, so roughly 50–70p. Difficulty: Beginner-friendly, though the ratchet mechanism benefits from a well-calibrated printer. If you’re on a Bambu, auto-calibration handles this without fuss.
This is the print I point to when someone says “but what would I actually make with a 3D printer?” The answer is always: “Something that pays for itself.”
4. The Gravity Broom Holder
Our utility cupboard used to be a hazard zone. Brooms, mops, and a dustpan with a handle that refused to stay upright. Open the door, dodge the avalanche. Repeat daily.
The gravity broom holder is a wall-mounted clip that uses, as the name suggests, gravity and clever geometry to grip a broom handle securely. You push the handle in, it clicks into place. Pull it out, it releases. No springs, no moving parts to break, just well-designed plastic doing its job. I printed three and screwed them to the inside of the cupboard door. Problem solved. For good.
Where to find it: Search “gravity broom holder” on Printables or Thingiverse. Multiple designs exist, so pick one that matches your handle diameter. Estimated print time: 1–1.5 hours per holder Filament: PLA is fine. PETG if you want extra strength. Around 30–40g each, costing roughly 50–80p. Difficulty: Very easy. You’ll need a couple of screws to mount them, but the print itself is straightforward.
Personal note: These have been on our cupboard door for well over a year now and still work perfectly. PLA is more durable than people give it credit for in indoor, non-heat-exposed applications.
5. The Flying Propeller Toy
Not everything has to be practical. Sometimes a 3D printer is just a brilliant toy factory. The flying propeller toy is a print that’s been doing the rounds on maker communities for a while, and for good reason. It’s a small propeller on a stick that you spin between your palms and launch into the air. It’s engineered to maximise lift, prints without supports, and guarantees hours of entertainment in the garden.
My boys went through a phase of launching these at each other across the back garden like tiny, brightly coloured helicopters. I printed about twenty of them for a birthday party once. Total cost in filament was probably around £3. The kids were more entertained by those than by everything else we’d organised. Lesson learned.
Where to find it: Search “flying propeller toy” or “flying helicopter toy” on Printables. Estimated print time: 20–40 minutes per propeller (yes, really) Filament: PLA in bright colours. Each one uses about 5–10g, so roughly 10–20p per toy. Genuinely cheaper than a pack of sweets. Difficulty: Absolute beginner. This is a perfect first print.
Quick Comparison Table
| Material Cost (approx.) | Print Time | Filament | Difficulty | Best Source | |
|---|---|---|---|---|---|
| Cable Organiser | 40–60p | 1–2 hours | PLA | Beginner | Printables |
| Bag Clip Pour Spout | 75p–£1.25 | 2–3 hours | PLA/PETG | Easy | Printables |
| Toothpaste Squeezer | 50–70p | 1.5–2 hours | PLA | Beginner | Printables |
| Gravity Broom Holder | 50–80p | 1–1.5 hours | PLA/PETG | Very Easy | Printables/Thingiverse |
| Flying Propeller Toy | 10–20p | 20–40 mins | PLA | Beginner | Printables |
Total cost for all five projects: under £4 in filament. That’s less than a meal deal.
Where to Find Great Free Models
A quick tip for anyone just starting out. Printables (by Prusa) is my go-to for free models. It’s well-organised, the community ratings are reliable, and most designs include clear print settings. Thingiverse is the older, bigger library but can feel a bit cluttered. Both are completely free. MakerWorld (by Bambu Lab) is worth checking if you own a Bambu printer, as models often come with pre-configured settings for Bambu Studio.
My workflow is simple: search Printables first, check the “Makes” section to see how other people’s prints turned out, read the comments for any gotchas, then slice it in Bambu Studio. Nine times out of ten, it prints perfectly first try. If you’re on an Ender, Cura or OrcaSlicer will do the same job.
One more thing. Keep an eye on filament prices right now. Costs have been volatile in 2026 due to supply chain disruptions in the petrochemicals industry. A kilogram of basic PLA in the UK currently sits around £15–25 depending on brand and colour, but that’s crept up from where it was earlier in the year. Stock up on black and white when you see a good deal. Those are the colours you’ll burn through fastest on practical prints.
Hype Cycle Check: Home 3D Printing in 2026
LIKELY TO LAST: Practical household printing. The community of makers sharing functional designs is enormous and growing. Printers under £300 are genuinely reliable now. This isn’t going away.
WATCH CLOSELY: Multi-colour and multi-material printing at consumer prices. The Bambu AMS system makes this accessible, and it opens up possibilities for labelled organisers, colour-coded family items, and more creative prints. It’s maturing fast.
VAPOURWARE RISK: The idea that 3D printers will “replace shopping.” They won’t. They’re brilliant for custom, small-batch, and niche items, but you’re not printing furniture or electronics. Manage expectations and you won’t be disappointed.
What This Means for CES 2027
I’ve been attending CES for over a decade now, and every year the 3D printing section gets more interesting. I’m expecting CES 2027 to double down on consumer-friendly, family-oriented printing. Bambu Lab have been aggressive with their product launches, and I wouldn’t be surprised to see a sub-£150 ($180) printer announced that targets the true mass market. Creality will likely respond with their own next-gen budget option.
I’m also watching for advances in food-safe filaments and kid-safe enclosed designs. As more families adopt these printers, manufacturers will need to make safety and simplicity the headline features, not just speed and resolution. That’s the shift that turns 3D printing from a hobbyist gadget into a household appliance.
What to Watch
- Bambu Lab’s next budget printer. The A1 Mini is already excellent at around £200. If they push below £150 with similar quality, it changes everything for families on a budget.
- Filament price trends through late 2026. Supply disruptions are pushing costs up. Watch UK retailers like 3DTomorrow and 123-3D for deals and stock up when prices dip.
- Printables community growth. The library of practical, family-friendly designs is expanding fast. New “collections” features make it easier to find curated lists of household prints.
- Multi-material print-in-place designs. Hinges, ratchets, and mechanisms that print fully assembled are getting more sophisticated. This is where functional home printing gets really exciting.
Recommended Products
If you found this useful and want more practical tech tips for family life, I send out a weekly newsletter covering exactly this sort of thing. No spam, no fluff, just stuff that actually helps. Sign up here: https://techdadslife.beehiiv.com/