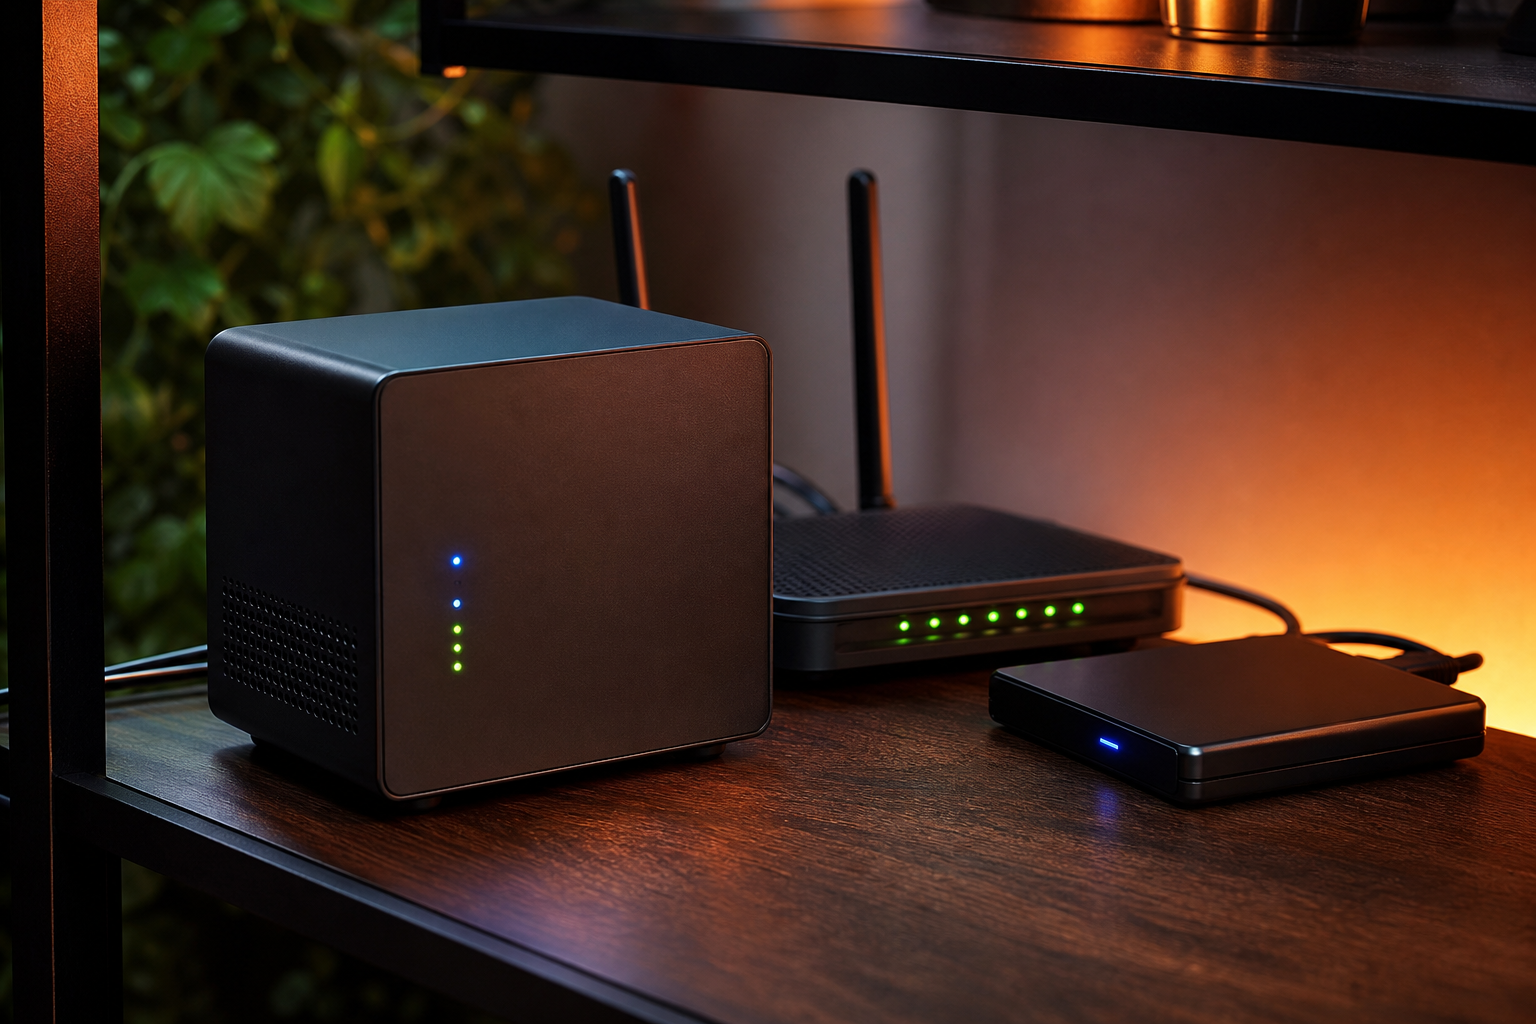
Streaming subscriptions have a way of quietly multiplying. You add one, then another, then a third because the kids want it, and before you know it you’re paying north of £40 a month just to watch things you’ve already bought on DVD or downloaded over the years. I got fed up with that. I already run a Plex server at home on a NAS with an HDHomeRun Flex Quattro feeding in live TV, but when a mate asked me how to do something similar on the cheap, I realised the barrier feels much higher than it actually is. You don’t need expensive kit. You don’t need to be a sysadmin. You need a free afternoon, a bit of patience, and less than £100.
This guide covers two realistic paths: dusting off an old laptop, or picking up a Raspberry Pi. Either way, you’ll end up with a server that streams your films, music, and photos to every screen in the house, without paying anyone a monthly fee to do it.
Before You Start
A few things to sort before you dive in. First, make sure your home network is reasonably solid. Streaming HD video across your house puts real demands on Wi-Fi, so if your signal is patchy, it’s worth reading how to speed up a slow home Wi-Fi network before going any further. A wired connection to your server is always better if you can manage it. Second, think about storage. The server itself doesn’t need to hold all your media, but it does need to be able to see it, whether that’s via an attached USB drive, internal storage, or a network share. A 4TB USB hard drive can be picked up for around £70 to £80 and is more than enough to get started.
Step 1: Choose Your Hardware
Option A: Use an Old Laptop or Desktop
This is the most sensible starting point for most people. Check what you’ve got gathering dust. Any laptop or desktop from roughly 2016 onwards with at least 4GB of RAM is more than capable of running a media server. A machine from 2018 to 2020 with 8GB of RAM is genuinely ideal, and if it has an Intel or AMD GPU, you’ll get hardware-accelerated transcoding on top. Transcoding is the process of converting a video file from one format to another on the fly, so that older TVs or phones can play it without stuttering. It’s the single most demanding thing a media server does.
If you’ve got an old laptop sitting in a drawer, your starting cost is zero. That matters.
Option B: Raspberry Pi 5 (4GB Model)
If you want something small, low-power, and purpose-built to sit quietly in a corner, the Raspberry Pi 5 is worth considering. The 4GB model is the sweet spot for a media server, offering a proper performance step up over the Pi 4 thanks to its quad-core Arm Cortex-A76 processor running at 2.4GHz. UK pricing has been around £67.95 for the board alone, though it’s worth checking current prices as memory costs have caused some fluctuation. You’ll also need to budget for a microSD card (around £8 to £12 for a 32GB), a case (£5 to £15), and some form of cooling. All in, expect to spend roughly £85 to £95.
The Pi 4 remains in production and is cheaper, but if you’re buying new, the Pi 5 is the better long-term investment.
Note on OS for Pi users: If you’re using a Pi 4 with 4GB or 8GB of RAM, install the 64-bit version of Raspberry Pi OS. The 32-bit version limits each process to around 3GB of RAM regardless of how much you have installed.
Step 2: Install Your Operating System
For Old Laptop Users
If the machine already runs Windows 10 or 11, you can install Plex or Jellyfin directly without doing anything to the OS. Just make sure automatic sleep is disabled so the server doesn’t go offline when nobody’s sitting at the keyboard. Go to Settings > System > Power & Sleep and set both sleep timers to Never.
If you’d rather run Linux (lighter, more stable for a headless server), Ubuntu Server 24.04 LTS is a solid choice and free to download.
For Raspberry Pi Users
Download the Raspberry Pi Imager from raspberrypi.com. Insert your microSD card, open the Imager, and select:
- Device: Raspberry Pi 5 (or Pi 4, whichever you have)
- Operating System: Raspberry Pi OS (64-bit)
- Storage: your microSD card
Click the settings cog before writing the image. Set your hostname, enable SSH, and configure your Wi-Fi credentials here. This means the Pi will connect to your network automatically on first boot, and you can manage everything remotely without plugging in a monitor.
Write the image, pop the card into the Pi, and power it on. Give it two minutes, then SSH in from another computer using the hostname you set.
Step 3: Choose Your Media Server Software
You have two main options: Plex and Jellyfin. Here’s the honest difference.
Jellyfin is completely free, open-source, and has no subscription tier at all. Every feature, including remote streaming, hardware transcoding, and all client apps, is included at no cost. Your data stays on your hardware and nobody is monetising your viewing habits. It’s funded by donations and developed by volunteers. The trade-off is that remote access requires a bit of extra setup (more on that below), and some smart TV apps are still a little rough around the edges, though they’ve improved noticeably through 2025 and into 2026.
Plex has polished apps on virtually every platform, including smart TVs, consoles, and streaming sticks, and it works out of the box. However, Plex made significant changes to its free tier in early 2025, restricting features that were previously available without paying. If you’re prepared to pay for Plex Pass, the experience is excellent. If you want everything for nothing, Jellyfin is the better choice.
For this guide, I’ll walk through Jellyfin, because it’s genuinely capable and costs nothing.
Step 4: Install Jellyfin
On Windows
Head to jellyfin.org, download the Windows installer, and run it. The setup wizard handles everything. Jellyfin runs as a background service and starts automatically with Windows.
On Raspberry Pi or Ubuntu (via Terminal)
curl https://repo.jellyfin.org/install-jellyfin.py | sudo python3
Follow the prompts. The script handles adding the repository and installing all dependencies. Once complete, Jellyfin starts automatically and runs on boot.
First-Time Setup
Open a browser on any device on your network and go to http://[your-server-ip]:8096. You’ll be greeted by the Jellyfin setup wizard.
- Create your admin username and password
- Add your media libraries. Point Jellyfin at your film folder, music folder, and photo folder. If your media is on an external USB drive, the path will be something like
/media/pi/MyDrive/Filmson Linux, orE:\Filmson Windows - Let Jellyfin scan and match your library. It pulls in metadata, artwork, and descriptions automatically. Depending on library size, this can take a few minutes to a couple of hours
Once done, your media is browsable through the web interface on any device on your network.
Step 5: Set Up Remote Access (Optional but Useful)
If you want to watch your media outside the house, Jellyfin doesn’t handle this automatically the way Plex does. The easiest method in 2026 is Tailscale, a free VPN tool that creates a secure tunnel between your devices. Install Tailscale on your server and on your phone, log in with the same account on both, and your phone can reach the server as if it were on your home network. It takes about 15 to 30 minutes to configure and is considerably more private than port-forwarding your router. If you want to understand what you’re setting up, this guide to VPNs at home explains the concepts clearly.
If It’s Still Not Working
Jellyfin won’t load in the browser: Check the server is actually running. On Linux, run sudo systemctl status jellyfin. If it shows as stopped, run sudo systemctl start jellyfin. On Windows, check Services in Task Manager.
Media isn’t appearing after the scan: The most common cause is a permissions issue. Jellyfin needs read access to your media folders. On Linux, check folder ownership with ls -la. On Windows, right-click the folder, go to Properties > Security, and make sure Jellyfin’s service account has read permission.
Playback is stuttering or buffering: This usually means transcoding is happening in software rather than using your GPU. In Jellyfin’s admin dashboard, go to Dashboard > Playback > Transcoding and enable hardware acceleration for your processor (Quick Sync for Intel, NVENC for NVIDIA). It’s also worth checking your network, particularly if you’re on Wi-Fi. A sluggish home network will cause problems here before anything else does.
You should now have a working media server streaming your films, music, and photos to any device in the house, with no ongoing subscription. Whether you went the Raspberry Pi route or pressed an old laptop back into service, the result is the same: your media, on your hardware, under your control. If something’s still not playing nicely, drop a comment below and I’ll do my best to help.
If you found this useful, there’s plenty more like it in the Tech Dads Life newsletter. I share practical guides, honest kit reviews, and the occasional dad joke every week. You can sign up at techdadslife.beehiiv.com and it won’t cost you a penny.