I’ll be honest with you. When I first got into 3D printing, I made it way harder than it needed to be. I built an Ender printer from a kit, spent more hours than I care to admit learning about slicing settings, first layer calibration, bed adhesion, and about fifteen other things that nobody warned me about. It was a proper rabbit hole, and there were moments I genuinely questioned whether the whole thing was worth it.
It absolutely was. But the route I took was the hard way. If you’re a dad reading this because you’re curious about 3D printing, or because your kid has asked for one, or because you’ve just spotted a printer on Amazon and you’re wondering whether to take the plunge, then I want to save you the frustration I went through. The good news is that in 2026, getting started has never been simpler. The printers are better, the software is friendlier, and you can go from unboxing to a successful first print in the time it takes to watch a couple of episodes of something on Netflix.
Before You Start
You don’t need any prior experience, and you don’t need to spend a fortune. What you do need is a bit of space (a garage corner, a spare bedroom shelf, or a decent workbench), a power socket, and a Wi-Fi connection. That’s genuinely it. Set your expectations right from the start: your first few prints may not be perfect, and that’s fine. Calibration takes a tiny bit of learning, but modern printers handle most of it automatically. One more thing worth flagging: there are two main types of 3D printer on the market, and for families, only one makes sense.
Step 1: Choose the Right Type of Printer
The two types you’ll encounter as a beginner are FDM (Fused Deposition Modelling) and resin. Resin printers produce incredibly detailed results and are used in things like dentistry and jewellery making, but they involve liquid resin that emits fumes and requires gloves, careful handling, and proper disposal. For a family home, that’s not where you want to start.
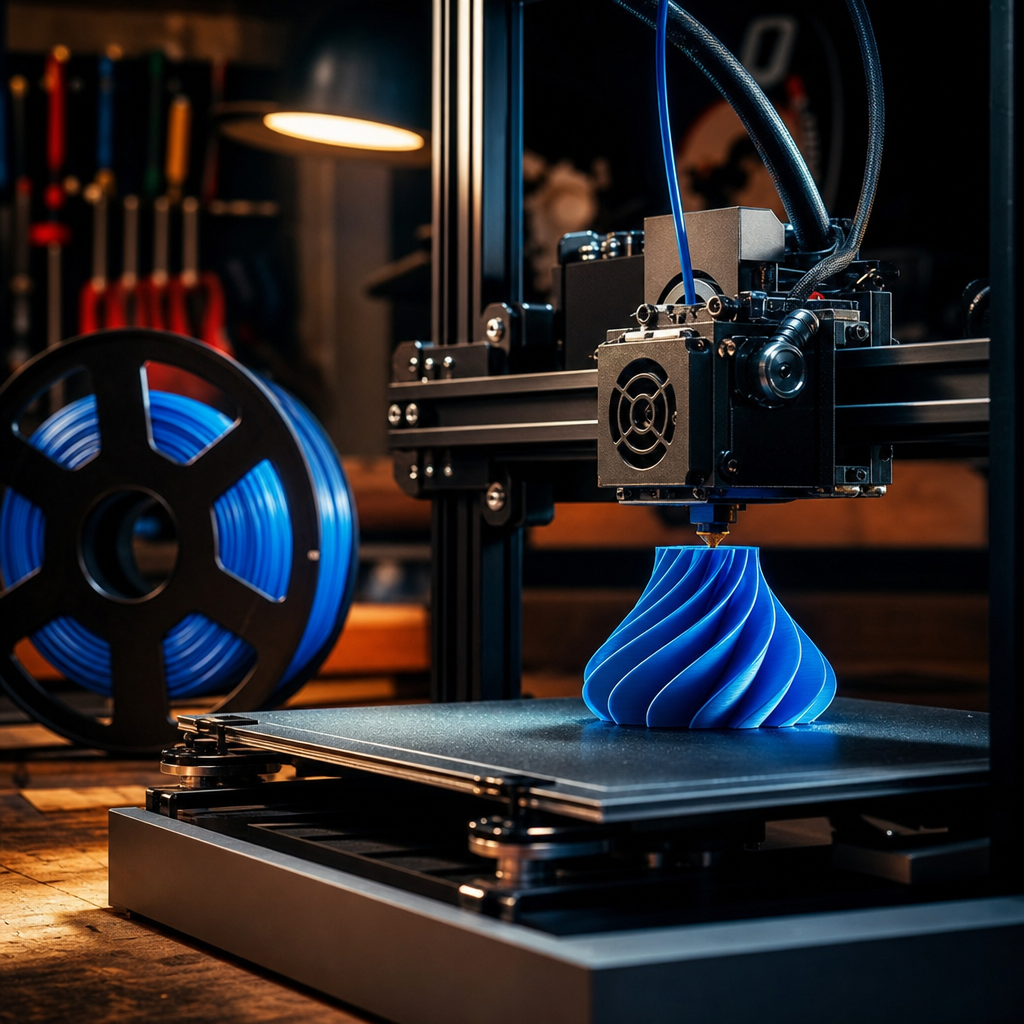
FDM is the one. The printer melts plastic filament, which comes on a spool, and deposits it layer by layer to build up a 3D object. It’s clean, safe, beginner-friendly, and the results are brilliant for the vast majority of things you’ll actually want to print.
Step 2: Pick the Right Printer
Here’s my honest recommendation: get a Bambu Lab A1 Mini.
I have a Bambu Lab P2S, and it is an outstanding machine. But the A1 Mini is the one I’d point a complete beginner towards in 2026, and the reason is simple. It arrives almost ready to go, it handles its own calibration, it connects to Wi-Fi, and within five minutes of unboxing you can have it printing. If 3D printing turns out not to be your thing, or it’s a phase your kid goes through and moves on from, you won’t have blown a ridiculous amount of money. And if you do get the bug, they’re easy to resell because everyone knows what a Bambu is these days.
The A1 Mini starts at around £169 for the printer on its own, or around £299 with the AMS Lite bundle. The AMS Lite is Bambu’s multi-colour feeder unit that holds four filament spools and automatically switches between colours mid-print. It’s a brilliant bit of kit, but for your very first machine, I’d honestly say start with the basic printer. Get comfortable, learn the process, and add the multi-colour stuff later if you want it.
If you want something with a fully enclosed chamber, which keeps temperatures more stable and reduces noise (useful if you’re printing in a living space rather than a garage), the Flashforge Adventurer 5M is worth a look at under £300. It’s particularly good if you’ve got younger children around, as the enclosed design adds an extra layer of safety.
A word on budget options: yes, there are printers like the Creality Ender 3 range that cost less, and I’ve built those myself. They’re great for tinkerers who enjoy the build process and want to understand how everything works. But if you want something that just works from day one without a steep learning curve, they’re not where I’d send a beginner in 2026.
Step 3: Start With the Right Filament
Keep this simple. Start with PLA.
PLA is the plastic filament that beginners should use without exception. It prints at a low temperature (between 180 and 230°C depending on the brand), it barely warps, it produces a clean surface finish, and it’s available everywhere in a massive range of colours. It’s also made from renewable sources like cornstarch, which is a nice bonus. The main limitation is heat resistance (around 60°C), so don’t expect PLA parts to survive in a hot car or near a radiator. For the vast majority of things you’ll want to print though, it’s perfectly fine.
Pick one colour and one brand to start with. Don’t try to do multi-colour prints straight away. Just get comfortable with the machine and the process.
Once you’re confident with PLA and you want to print things that need to be a bit tougher, step up to PETG. It’s stronger, more heat-resistant, and most FDM printers that handle PLA can handle PETG with a small amount of adjustment. It’s a natural second step.
Stay away from ABS for now. It’s tricky, fume-prone, and you just don’t need it at this stage.
Step 4: Find Something to Print
This is where the fun starts. You don’t need to design your own models to enjoy 3D printing. There are thousands of free designs available to download right now.
The best place to start is MakerWorld.com , which is Bambu Lab’s own model library. What makes it particularly good for beginners is that many models have a one-click “Open in Bambu Studio” button, so you don’t even have to download a file and import it manually. It just opens straight into the slicer ready to go. The library is growing fast and the models are well-suited to Bambu printers. Thingiverse is the older, larger alternative and still has a brilliant range if you want to cast the net wider. Search for something your kid will actually care about, whether that’s a phone stand, a cable clip, a miniature for a board game, or a dragon with articulated joints (kids absolutely love those).
For your very first print, search for a “Benchy.” It’s a small tugboat model that the 3D printing community uses as a standard test print. It’s free, it’s quick, and it’ll tell you a lot about how well your printer is dialled in.
Step 5: Slice the Model and Send It to Print
A slicer is the software that converts a 3D model file (usually an STL file) into instructions the printer can follow. The Bambu Lab app and its Bambu Studio slicer are genuinely good, and they’ll be pre-configured for your A1 Mini from the moment you install them.
Download the model file from MakerWorld or Thingiverse, or use MakerWorld’s one-click “Open in Bambu Studio” button if available. Open it in Bambu Studio. Select your printer and your filament type (PLA). Hit slice, then send it to the printer. That’s the process. The software handles the difficult stuff automatically.
You don’t need to change any settings for your first few prints. Leave everything on default, use the profile the software suggests for your filament, and just let it run.
Running Costs
One question I always see from dads considering a 3D printer is what it actually costs to run. The answer is surprisingly little. A typical 250W printer running for four hours a day costs roughly £4.20 per month at the current UK electricity rate of around 29p per kWh. A 1kg spool of PLA, which will set you back about £18, yields a decent number of prints before you need to restock. It’s genuinely one of the cheaper hobbies going once you’ve got the printer itself.
If It’s Still Not Working
The print isn’t sticking to the bed. This is the most common beginner issue. Make sure the build plate is clean (a wipe with isopropyl alcohol sorts this), and check that you’re using the right profile for your filament. The Bambu A1 Mini handles first-layer calibration automatically, but if you’re having repeated adhesion failures, run the automatic calibration routine again from the printer menu.
Stringy bits between parts of the print. This is called stringing and it usually means your retraction settings aren’t quite right. On the Bambu Studio slicer, select a profile with slightly higher retraction, or bump up your travel speed slightly. It sounds complicated but there are one-click settings for this in the software.
The filament isn’t feeding properly. Check that your spool is loaded correctly and isn’t tangled. Tangles are more common than you’d think, especially if you leave the end of a filament loose on the spool between prints. Tuck the end into the spool hole whenever you remove it.
You’re Ready to Print
If you follow the steps above, you’ll have a successful first print without the headache I went through learning the hard way. Get a Bambu A1 Mini, grab a spool of PLA, download a free model, and let the machine do what it’s designed to do. It genuinely is that straightforward now.
And if 3D printing clicks for you the way it clicked for me, here’s what I’ll tell you from experience: you’ll keep the A1 Mini and start looking at a bigger printer within a year. That’s not a warning. That’s just how it goes.
If you’re stuck, drop a comment on the article and I’ll do my best to help. The Tech Dads Life community is a good place to get practical advice from people who’ve actually been through it.
Want more guides like this delivered straight to your inbox? I write a regular newsletter packed with practical tech for families, and it’s free to subscribe. Come and join us over at Tech Dads Life on Beehiiv and you’ll never miss a thing.