I’ll be honest with you: I ignored my Bambu Lab P2S for longer than I should have. The prints were coming out fine, the machine was doing its thing, and it was easy to assume that because everything looked okay, everything was okay. Then one afternoon I pulled a part off the bed and noticed the first layer looked like someone had dragged a comb through wet cement. Inconsistent lines, a bit of stringing, the odd gap. Nothing catastrophic, but enough to tell me the machine was trying to say something. A couple of hours of proper maintenance later and it was printing like the day it arrived.
That’s the thing about Bambu Lab printers, whether you’ve got a P1S or an X1C. They’re remarkably capable and largely self-managing, which can actually work against you. It’s easy to assume they don’t need looking after. They do. Not constantly, not obsessively, but on a sensible schedule. This guide walks you through everything you need to do, how often to do it, and how to do it safely.
Before You Start
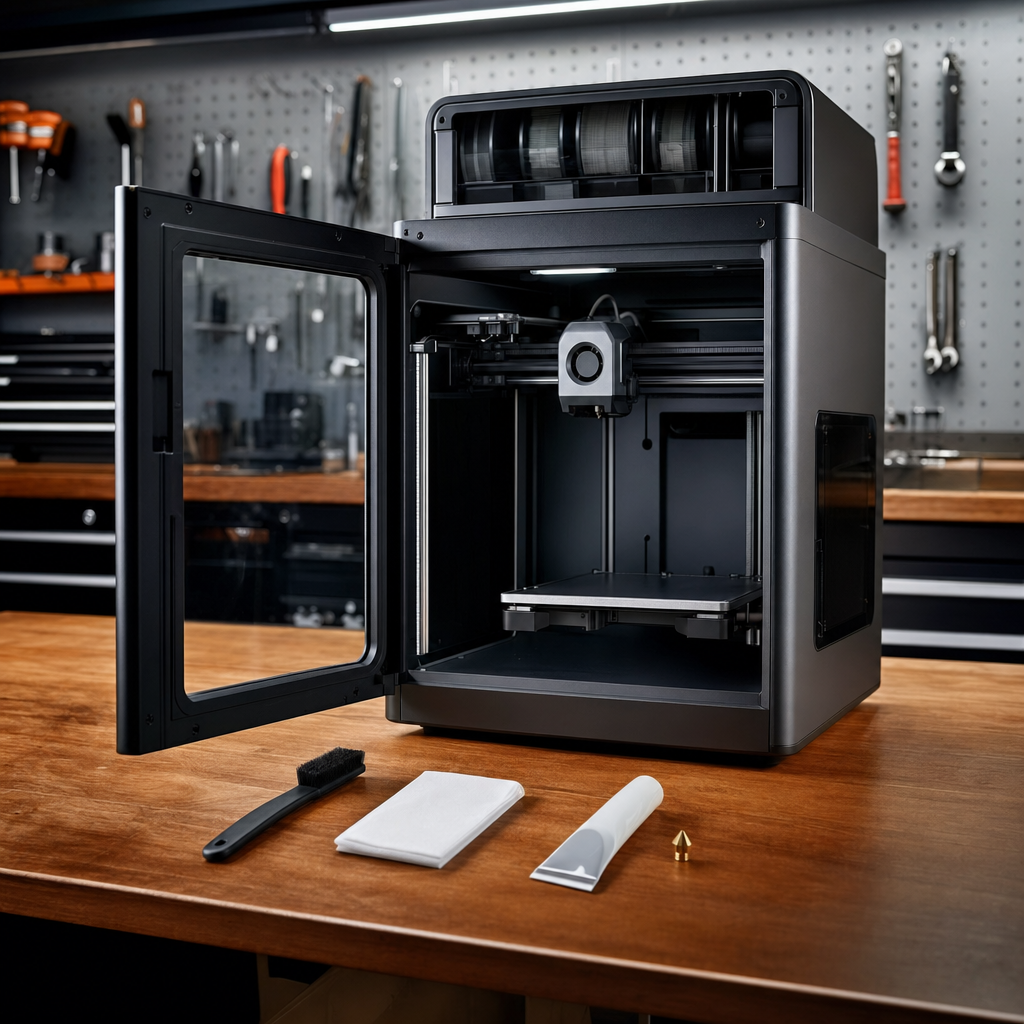
A few things to sort before you dive in. Make sure the printer is powered off and cooled down for anything involving physical cleaning of rods or screws. For nozzle work, you’ll obviously need it warm, but keep safety glasses handy and don’t lean over the open chamber while the hotend is hot. Have a clean microfibre cloth, some 99% isopropyl alcohol (IPA), a brass brush, and some lubricating grease to hand before you start. Do not use 70% IPA from the bathroom cabinet. It contains water and additives that leave residue. It has to be 99%.
Phase 1: Cleaning the Nozzle
This is the one most people skip until something goes wrong. Don’t be that person.
Step 1: Run a Cold Pull
A cold pull is the most effective way to clean the inside of your nozzle. The idea is simple: you heat the filament, let it partially cool and solidify inside the hotend, then pull it out. As it comes free, it drags debris, burnt bits, and residue with it. Done regularly, it keeps extrusion consistent and prevents clogs from building up.
On the printer’s touchscreen, navigate to Toolbox > Nozzle Cold Pull Maintenance, then tap Next. You’ll be asked to confirm your nozzle size and the filament type loaded. For a standard cold pull on a 0.4mm nozzle with PLA loaded, just select those options and tap Start. The printer handles the temperature cycling for you.
PLA and PETG are the recommended filaments for cold pulls. Other materials tend to tear during the pull and leave residue behind, which defeats the whole point. If you’re running high-temp materials regularly, flush the nozzle first: around 250°C for PLA, PETG, TPU, and PVA; around 290°C for ABS, ASA, PA, and PC; around 320°C for PPS or PPA.
When the pull is done, inspect the tip of the extracted filament. If it comes out clean and smooth, you’re done. If it shows dark spots, burnt patches, or any discolouration, run it again. Keep going until the tip is clean. It usually takes two or three pulls if the nozzle has been neglected for a while.
Step 2: Clean the Outside of the Nozzle
Burnt filament builds up on the outside of the nozzle tip over time. It’s harmless in small amounts but can interfere with prints if it gets bad enough. Heat the nozzle to 250°C, then use a brass brush to gently scrub around the tip in all directions. The build-up will fleck off in small pieces. Don’t use a steel brush. Brass is firm enough to do the job without scratching the nozzle.
Step 3: Check the Nozzle Wipe Area
While you’re in there, take a look at the nozzle wiping pad. This is the small pad the printer uses to wipe the nozzle tip before each print. Check for cracks, damage, or accumulated filament debris around it. Clear away any build-up. If debris blocks this area, it can interfere with the purge cycle and cause the first layer to look rough.
Step 4: Dealing With a Complete Clog
If you’ve got a fully blocked nozzle, the cold pull may not be enough on its own. A common issue on P1 and X1C printers is heat creep, where filament swells inside the hotend and becomes stuck. If you’re using a cleaning needle to try to clear it, take care. The internal pressure can release suddenly when you poke through, and hot material can spray out. Gloves on, and keep your face away from the chamber. If you’re running a 0.2mm nozzle, be prepared to repeat the clearing process several times. Smaller nozzles clog more easily and need more patience.
Phase 2: Bed Levelling and Build Plate Care
Step 5: Let the Printer Do the Levelling
Good news here. Both the P1S and X1C handle bed levelling automatically. You don’t need to fiddle with it manually. Hit print, and the printer runs its calibration, including auto-bed levelling and vibration compensation. The X1C has a LiDAR sensor that also does a first-layer scan before printing, which the P1S doesn’t have, but in practice the P1S first layers are perfectly solid without it.
What you do need to manage is the build plate itself.
Step 6: Clean the Build Plate Properly
Poor adhesion is almost always a contamination problem, not a levelling problem. Skin oils from handling the plate are enough to cause issues. Before every print, or at minimum whenever adhesion feels off, wipe the plate down with 99% IPA on a clean shop towel or microfibre cloth. Wipe in one direction. Let it dry for 30 seconds before printing.
If you’re still getting adhesion problems after a proper clean, the PEI coating may be worn through. PEI plates do wear out, especially if you’re printing frequently. At that point, cleaning won’t help. Replace the plate.
Phase 3: Lubrication
This is where people get caught out, because the P1S and X1C have two very different lubrication requirements depending on which axis you’re looking at.
Step 7: Clean the X-Axis Carbon Rods (Do NOT Lubricate)
This is the most important thing to get right. The X-axis uses carbon rods, and these must not be lubricated. I’ll say it again because it surprises a lot of people: no grease, no oil, nothing. Applying lubricant to the carbon rods causes build-up, damages the surface coating, and will eventually lead to print drift and premature failure.
What you should do is clean them monthly. Apply a generous amount of 99% IPA to a clean microfibre cloth and wipe along the full length of each rod. Remove any dust, plastic particles, and debris. That’s it. Clean, dry, done.
Step 8: Grease the Z-Axis Lead Screws
The Z-axis is the opposite situation. The three lead screws that move the heated bed up and down need regular greasing to keep things running smoothly. Without it, you’ll eventually hear noise, feel resistance, and start seeing Z-banding in your prints.
Start by wiping the lead screws down with a dry cloth to remove any old residue, dust, or plastic particles. Then apply a thin coat of lubricating grease along the length of each screw. Home the bed, apply another thin coat, then move the bed down. Apply a third coat and home it again. Run the bed up and down a few times to work the grease into the threads evenly. You don’t need to glob it on. A thin, even coating is all it takes.
Phase 4: Firmware Updates
Step 9: Keep the Firmware Current
Bambu Lab releases firmware updates regularly and they genuinely matter. Bug fixes, calibration improvements, new features for the AMS . The easiest way to stay on top of this is through Bambu Handy on your phone. You’ll get a notification when an update is available. Alternatively, check via the printer’s touchscreen under Settings > Firmware. Connect the printer to Wi-Fi if it isn’t already, and run the update. It takes a few minutes and the printer will reboot. Don’t skip these. Bambu Lab has addressed real print quality issues through firmware that no amount of physical maintenance would fix.
If It’s Still Not Working
If you’ve run through all of this and prints are still coming out wrong, the three most common culprits are worth checking. First, a nozzle that needs replacing entirely rather than just cleaning. If the cold pull tip still looks rough after five or six pulls, the nozzle is worn. Second, a build plate that’s past its usable life despite cleaning. And third, a firmware version that’s out of date. Worth checking all three before pulling anything apart.
Run through this routine every month for the rods and lead screws, and before any long print run for the nozzle and bed, and your Bambu Lab printer should reward you with consistently excellent results. If you’re still stuck after following all of this, drop me a message through the site and I’ll do my best to help.
If you found this useful, my newsletter over at Tech Dads Life on Beehiiv is worth a subscribe. I send out practical guides, honest reviews, and the occasional thing I probably shouldn’t have bought. No spam, no filler, just stuff that’s actually worth reading.