If you’ve ever bought a smart bulb on a whim, set it up with one app, then bought a smart plug that needs a completely different app, then wondered why none of it talks together, welcome to the club. I’ve been there. In fact, I’ve been there multiple times, which is probably why our house now runs pretty smoothly and I can tell you exactly what not to do first.
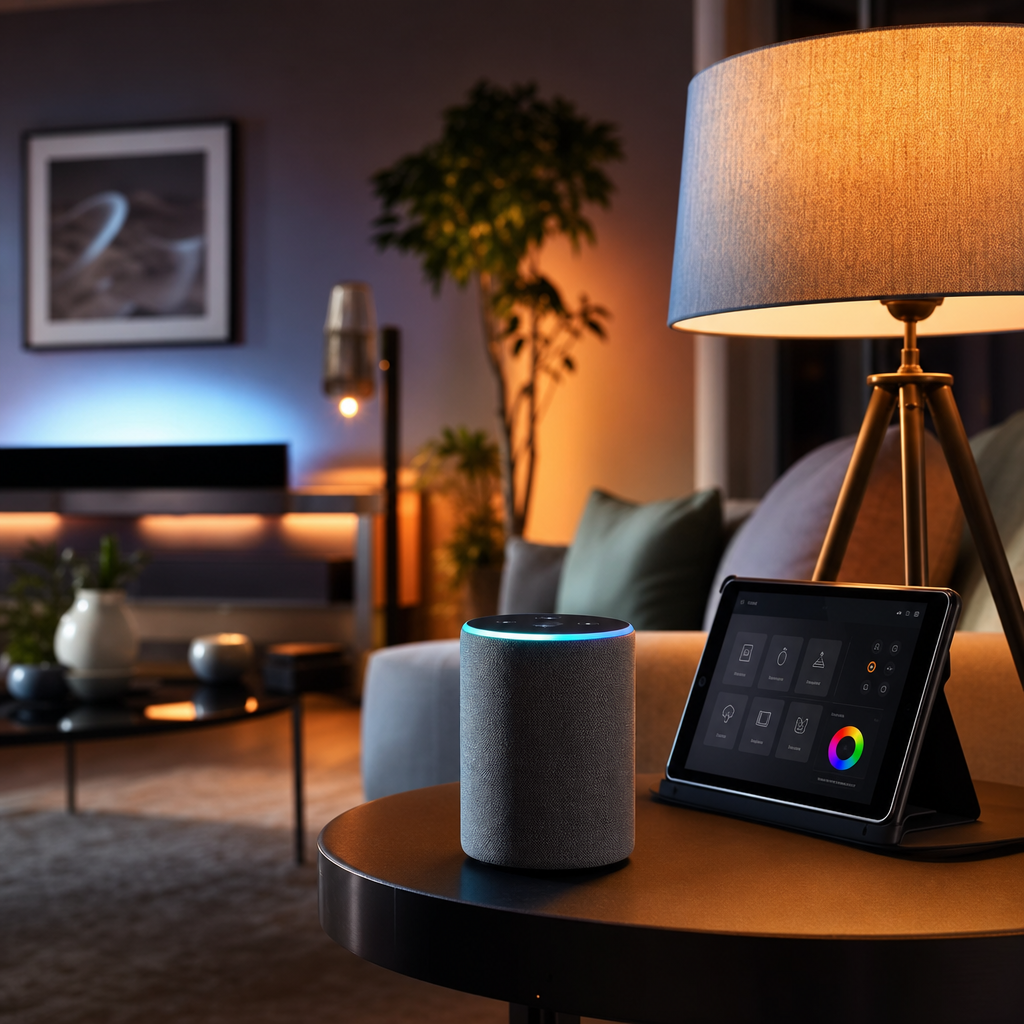
Our home in Hampshire is fully Alexa-based at this point. Every bedroom has smart lighting. The kitchen is on Alexa. The thermostat is connected. Heated blankets sit on smart plugs with a winter bedtime routine that warms the beds before anyone gets in and then automatically turns the blankets off 20 minutes later. The Christmas lights, all of them, the tree, the indoor decorations, the outdoor lights, are plugged into smart plugs, so a single “Alexa, turn the Christmas lights on” handles the whole lot. It took a while to get here, but it genuinely works, and none of it required an electrician or a degree in computer science. This guide is how I’d tell a mate to do it from scratch.
Before You Start: One Decision That Changes Everything
Before you buy a single device, you need to pick your ecosystem. This is the platform that ties everything together, and the most common mistake people make is skipping this step entirely, buying things from six different brands, and ending up with a drawer full of devices that each need their own app and refuse to cooperate.
In the UK, your three realistic options are Amazon Alexa, Google Home, and Apple HomeKit. Alexa is where I’d point most families starting out. It supports over 100,000 devices from thousands of brands, the entry cost is lower, and it’s genuinely beginner-friendly. Google Home is a solid choice if your household lives inside Google’s world. Calendar, Gmail, YouTube and so on. Apple HomeKit is excellent for privacy-conscious iPhone families, but the devices cost noticeably more. If you already have an Amazon Echo or a Google Nest speaker sitting in the kitchen, you’re already in an ecosystem. Start there.
The golden rule: pick one and stick to it, at least for the essentials.
Step 1: Choose Your Hub (or Confirm You Don’t Need One)
Here’s some good news for anyone feeling intimidated by the word “hub”. Most families starting a smart home in 2025 don’t need a dedicated one. If you’re building around Alexa, Google Home, or Apple HomeKit, your smart speaker or display already acts as the brains of the operation.
A dedicated hub makes sense if you want to get into more complex automation, or if you’re mixing device types like Zigbee or Z-Wave alongside Wi-Fi devices. For that, the Aeotec Smart Home Hub works with the SmartThings platform and supports Matter, Zigbee, and Z-Wave, which makes it one of the most flexible options available. Homey Pro is another strong contender if you want to manage everything remotely and track energy usage. For beginners who want simplicity, the IKEA DIRIGERA Hub has an excellent app and is built around the Matter standard.
Speaking of Matter. It’s worth knowing about, but don’t let it overwhelm you. Matter is a newer standard that’s supposed to let devices from different manufacturers work together across ecosystems. In theory, a Matter-certified bulb should connect to Alexa, Google, or Apple without needing special bridges. In practice, the big platforms haven’t implemented it consistently, so don’t assume a Matter logo means everything will just work straight out of the box. It’s getting better, but it’s not magic yet.
For most families: grab an Amazon Echo, set it up, and you’re good to go.
Step 2: Set Up Your Wi-Fi First
Smart home devices are only as reliable as the network they run on. Before you touch a single smart plug or bulb, make sure your Wi-Fi reaches every room you’re planning to automate. Most smart devices connect to the 2.4GHz band rather than 5GHz, so confirm your router broadcasts both or that you haven’t accidentally merged them in a way that confuses devices during setup.
If your router struggles to reach the garage, a spare bedroom, or the garden, sort that first. A mesh network fixes this properly. I run a Deco mesh system at home and coverage hasn’t been an issue since. Patchy Wi-Fi is responsible for more “my smart home doesn’t work” complaints than anything else.
Step 3: Start With Lighting
Lighting is the best first project for any family. It’s low risk, low cost, affordable to fix if you buy the wrong thing, and it delivers an immediate “wow, that’s clever” moment that gets the rest of the family on board.
Buy smart bulbs or smart plugs that explicitly state compatibility with your chosen ecosystem. For Alexa, look for “Works with Alexa” on the packaging. Philips Hue is the premium option and it’s excellent, but there are solid budget alternatives from brands like Govee, LIFX, and Tapo that do the job well for everyday rooms.
Fit the bulbs, add them in the Alexa app, assign them to rooms, and test the basics: “Alexa, turn the bedroom lights on.” Once that works, you’re building on solid ground.
One practical note from our setup: every smart light switch in our house has a manual override. Smart homes need to work for everyone, including kids and visiting grandparents who aren’t going to remember a voice command. Physical switches that still function are not a compromise. They’re common sense.
Step 4: Add Smart Plugs for Routines That Actually Help
Smart plugs are underrated. They don’t look exciting, but they’re what turn a basic smart home into one that genuinely makes your life easier.
In our house, the heated blankets are plugged into smart plugs as part of a winter bedtime routine. About 30 minutes before the kids go to bed, Alexa turns the plugs on. Twenty minutes after that, another routine turns them all off automatically. Nobody has to remember, nobody leaves a heated blanket on all night, and getting into a warm bed in December feels like a small luxury.
The Christmas light setup works exactly the same way. Every tree and light is on a smart plug, grouped under the name “Christmas lights.” One command handles everything. You can also set a schedule so they come on at dusk and turn off at 10pm without you having to think about it.
Step 5: Set Up Rooms and Groups in Your App
Once you have a few devices, take 20 minutes to organise them properly in the Alexa app (or whichever app your ecosystem uses). Create rooms that match your actual rooms: kitchen, living room, kids’ bedrooms, your bedroom. Add each device to the correct room.
This is what makes voice control natural. “Alexa, turn off the living room lights” only works correctly if the living room devices are grouped under a room called living room. It sounds obvious, but people skip this and then wonder why commands only work half the time.
Name your devices sensibly while you’re at it. “Bedroom lamp left” and “bedroom lamp right” is clearer than “device 1” and “smart bulb 2.”
Step 6: Connect Your Thermostat
A smart thermostat is one of the higher-impact upgrades you can make, both for comfort and energy bills. I use the Tado system at home, which is connected through Alexa and works well. My preference was always Nest, which I think is a better product overall, but Nest is being discontinued and transitioning fully to Google’s ecosystem, so I made the switch. It wasn’t entirely voluntary, but Tado has been solid.
If you’re shopping for a smart thermostat right now, Tado is a reliable option with good Alexa integration and decent geofencing. Hive is another popular UK choice that’s been around long enough to be trusted. Both are retrofit-friendly for most UK homes, which matters given how many older properties there are where rewiring isn’t practical.
If It’s Still Not Working
Devices won’t connect: Almost always a Wi-Fi issue. Check you’re connecting to 2.4GHz, not 5GHz. Some routers need you to split these into separate networks during device setup.
Routines run at the wrong time or not at all: Check the timezone settings in your Alexa or Google app. Also make sure the routine trigger is saved correctly. It’s easy to exit without confirming.
Devices drop off the network regularly: Usually signal strength. Move your router or add a mesh node. A device that’s right at the edge of Wi-Fi coverage will cause you constant headaches.
You’ve Got This
A family smart home doesn’t need to be complicated or expensive to start. Pick your ecosystem, get your Wi-Fi solid, add a few smart bulbs and plugs, build one routine that genuinely helps your daily life, and go from there. The heated blanket routine alone has made winter bedtimes less of an argument in our house, and that’s worth more than I can put a price on.
If you get stuck or want a second opinion on a specific device, drop me a message. I’m always happy to help. And if you want to keep up with what we’re testing and building at home, the Tech Dads Life newsletter is the best place for that.
Join the Tech Dads Life newsletter at techdadslife.beehiiv.com — practical tech, honest reviews, and the occasional dad joke, straight to your inbox.