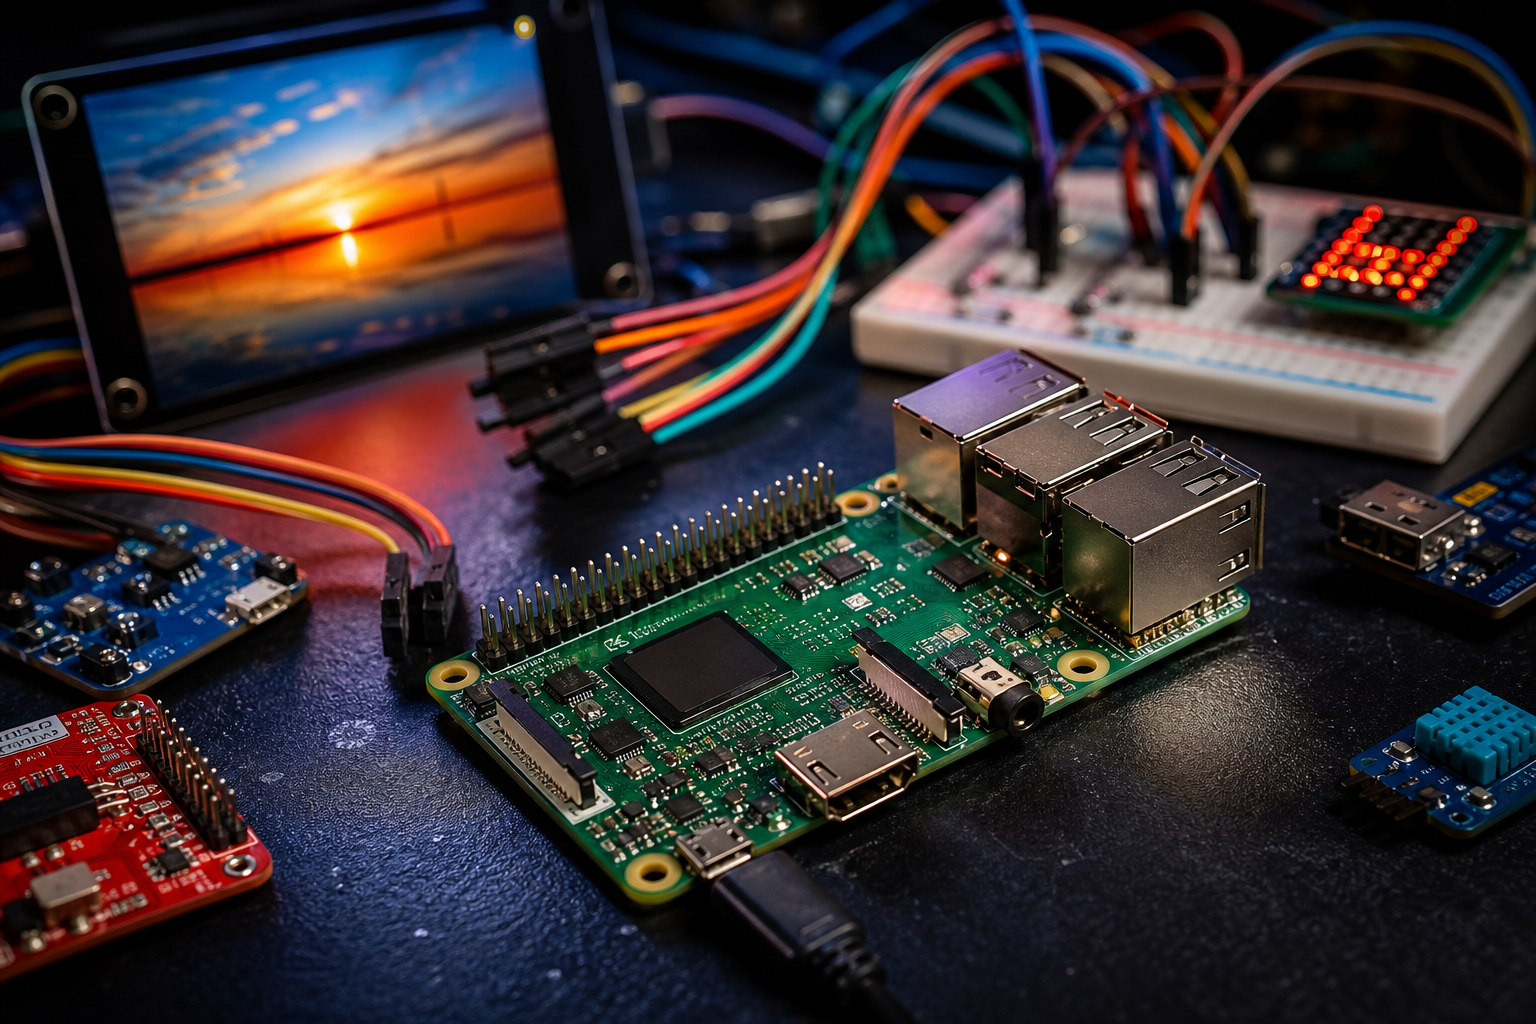
The Raspberry Pi has been on my radar for years. I’ve watched it evolve from a curiosity into something genuinely impressive, and I’ll be honest, I kept putting off actually sitting down and doing a proper beginner setup with one of my boys. There was always something in the way. A project, a deadline, the usual chaos of family life. When the Raspberry Pi 5 landed, though, I ran out of excuses. This thing is seriously capable, and at a time when getting kids interested in how computers actually work feels more important than ever, it’s one of the best tools available.
This sits alongside a few other things I’ve been trying to build into how I teach my kids about technology , rather than just handing them a finished device. The problem isn’t that it’s complicated. It’s that the starting point looks daunting if you’ve never done it before. The board arrives looking like something out of a science lab, there’s talk of operating systems and microSD cards and command lines, and suddenly what felt like a fun weekend project starts to feel like homework. I’ve been there. So this guide is for you: the parent who wants to do this with their kid, has a vague idea of what a Raspberry Pi is, and just needs someone to walk them through it clearly from the beginning.
Before You Start
There are a couple of things to sort before you touch a single cable. First, check whether you’re buying the board on its own or a starter kit. For a first-time setup, a starter kit is strongly recommended. I’ll explain why in a moment. Second, make sure you have access to a spare monitor with an HDMI input, plus a USB keyboard and mouse. These are the only things a decent starter kit won’t include. If you’re buying the board alone, note that the Pi 5 uses micro-HDMI ports, not full-size HDMI. That’s a very easy thing to miss and a very annoying thing to discover once everything else is laid out on the table.
Step 1: Choose Your Kit
The Raspberry Pi 5 is the current flagship board. It runs a 2.4GHz quad-core 64-bit ARM processor and is genuinely 2 to 3 times faster than its predecessor. For a parent-and-child project, the 4GB or 8GB RAM variant is what you want. There is a 1GB model available, but it’s less suited to general desktop use and honestly doesn’t save you as much money as you might expect, because Pi pricing has shifted upward recently due to memory market pressures driven largely by AI infrastructure demand. The Raspberry Pi CEO has acknowledged this and said prices will come down when market conditions allow, but for now, budget accordingly.
For UK buyers, stick to approved resellers. The main ones are The Pi Hut (thepihut.com), Pimoroni (pimoroni.com), CPC Farnell’s U:CREATE range, and Kitronik. There are around 99 approved resellers globally, and buying from them guarantees genuine stock at proper pricing. Avoid random marketplace listings.
A typical starter kit includes the Pi 5 board with an active cooler already attached, a 32GB microSD card with Raspberry Pi OS pre-installed, a micro-HDMI cable, a case, and an official 5A USB-C power supply with a UK plug. Some kits also include a getting-started booklet. The cooler matters: without it, the Pi 5 will throttle under load and you’ll lose performance. Always get a kit that includes one, or buy the official active cooler separately if you go board-only.
At time of writing, GBP pricing varies depending on RAM and retailer. Check thepihut.com and pimoroni.com directly for current pricing, as it has been moving around.
Step 2: Flash the Operating System (If Not Pre-Installed)
If your starter kit includes a pre-loaded microSD card, you can skip this step entirely and move straight to Step 3. This is one of the best reasons to buy a kit rather than the bare board.
If you’re starting with a blank card, you need to install Raspberry Pi OS. The current version is based on Debian 13 “Trixie” and is rock-solid for beginners. Here’s how to do it:
- On a Windows PC or Mac, download the Raspberry Pi Imager from raspberrypi.com/software. The current version is Imager 2.0.
- Insert your microSD card into your computer using a card reader.
- Open the Imager. You’ll see three dropdowns: Device, Operating System, and Storage.
- Under Device, select Raspberry Pi 5.
- Under Operating System, select “Raspberry Pi OS (64-bit).” This is the recommended full desktop version.
- Under Storage, select your microSD card. Double-check this is the right drive before proceeding.
- Click Next. The Imager will ask if you want to apply OS customisation settings. Click Edit Settings. Here you can pre-set your Wi-Fi network name and password, your username and password, and your locale and timezone. Doing this now saves faff later.
- Save your settings, confirm them when prompted, and click Yes to write. The Imager will flash the card and verify it automatically.
- Once complete, eject the card safely.
[Screenshot: Raspberry Pi Imager 2.0 showing device, OS, and storage dropdowns with Pi 5 selected]
Step 3: Assemble the Hardware
This is the bit that gets the most enthusiasm in our house. Lay everything out on a clear surface.
- If your kit came with a case, fit the Pi board into the base of the case according to the instructions. Most cases have a simple clip-together design.
- Attach the active cooler to the processor if it isn’t already fitted. It connects via a small fan header on the board itself.
- Insert the microSD card into the slot on the underside of the Pi. It clicks in with a gentle push.
- Connect your USB keyboard and mouse to any of the USB ports. The two USB 3.0 ports are the blue ones, useful to know for future projects.
- Connect your monitor using the micro-HDMI cable. The Pi 5 has two micro-HDMI ports; either will work for a single screen.
- Do not connect the power cable yet.
[Diagram description: Pi 5 board with labelled ports, micro-HDMI left and right, USB ports, microSD slot underneath, USB-C power port]
Step 4: First Boot
- Plug in the USB-C power supply to the wall and to the Pi. There’s no physical power switch. Connecting power starts the boot sequence.
- Watch your monitor. You’ll see the Raspberry Pi logo, then the desktop will load within about 30 seconds.
- If this is your first boot on a pre-loaded card (rather than one you flashed), a setup wizard will launch. Follow it through: it covers language, timezone, Wi-Fi, and creating your user account.
- The system may prompt you to update software. Let it run. It takes a few minutes but it’s worth doing before anything else.
Once you’re at the desktop, you’re in. Raspberry Pi OS looks and works a lot like a regular PC desktop. There’s a browser, a file manager, a terminal, and a collection of educational tools already installed.
Step 5: Run Your First Project
The easiest first project for a parent-child session is Scratch, which is pre-installed. Open it from the Programming section of the main menu and you’ve got a proper visual coding environment running on hardware you set up yourselves. That moment lands well with kids, I promise. If Scratch clicks and they want to go further, I’ve written a separate beginner’s guide to learning to code that picks up from here.
If your child is a bit older, the next step is opening the Terminal and running:
python3 --version
Python is already installed and ready to go. From there, you can try any of the beginner Python projects on the official Raspberry Pi website (projects.raspberrypi.org), which are genuinely well-written and designed for exactly this kind of parent-child session.
If It’s Still Not Working
Nothing appears on screen. Check the micro-HDMI cable is properly seated at both ends. Try the other micro-HDMI port on the Pi. Confirm your monitor is set to the correct input source.
The Pi won’t boot properly or shows a rainbow square. This usually means a power issue. Make sure you’re using the official 5A USB-C supply, not a phone charger. It can also mean the microSD card isn’t fully inserted or wasn’t flashed correctly. Remove it, re-seat it, or re-flash with the Imager.
Wi-Fi isn’t connecting. Go to the top-right of the desktop and click the network icon. Re-enter your Wi-Fi credentials. If you set them up during the Imager process, double-check they were typed correctly, including any capital letters or special characters in the password.
With those steps done, you should be looking at a working Raspberry Pi 5 desktop, set up from scratch, with your kid sitting next to you having actually been involved in making it happen. That’s genuinely worth something. Over 68 million Raspberry Pi units have been sold worldwide. There’s a reason it’s become the go-to board for anyone wanting to learn how computers work from the ground up. If this kind of hands-on project goes down well, 3D printing is a natural next step for the same kid.
If you’re stuck on anything this guide doesn’t cover, drop me a message via the contact page or bring your question to the newsletter community. Someone there has almost certainly been in the same spot.
If you want guides like this landing in your inbox, along with honest tech advice for busy families, come and join the Tech Dads Life newsletter. No fluff, no spam, just useful stuff.