My youngest asked me to show her how to screenshot something on my MacBook the other day. She wanted to save a meme her friend had sent in a web browser. Simple enough request. Except I watched her press every combination of buttons she could think of for about 90 seconds before giving up and asking me. And honestly, for a brief embarrassing moment, I second-guessed which keys it was too.
Screenshots are one of those things you either know by muscle memory or you have never quite locked in. On a Mac especially, there are so many options that people often stick to one method without realising there are faster, better ways depending on what you are trying to capture. This guide covers the whole lot, from the quickest keyboard shortcut to the full Screenshot app, and a few tricks that genuinely save time once you know them.
Whether you are a Mac newcomer, someone who has just upgraded to macOS Sequoia, or a parent trying to help your kids get the most out of a school MacBook, you are in the right place.
The Three Keyboard Shortcuts You Actually Need
Apple gives you three core screenshot shortcuts, and they cover the vast majority of what you will ever need.
Shift + Command + 3 captures your entire screen in one go. Press it and you will hear the camera shutter sound (unless your Mac is on silent), and a small thumbnail appears in the corner of your screen. Click that thumbnail to annotate before saving, or just leave it and it will save itself automatically to your Desktop.
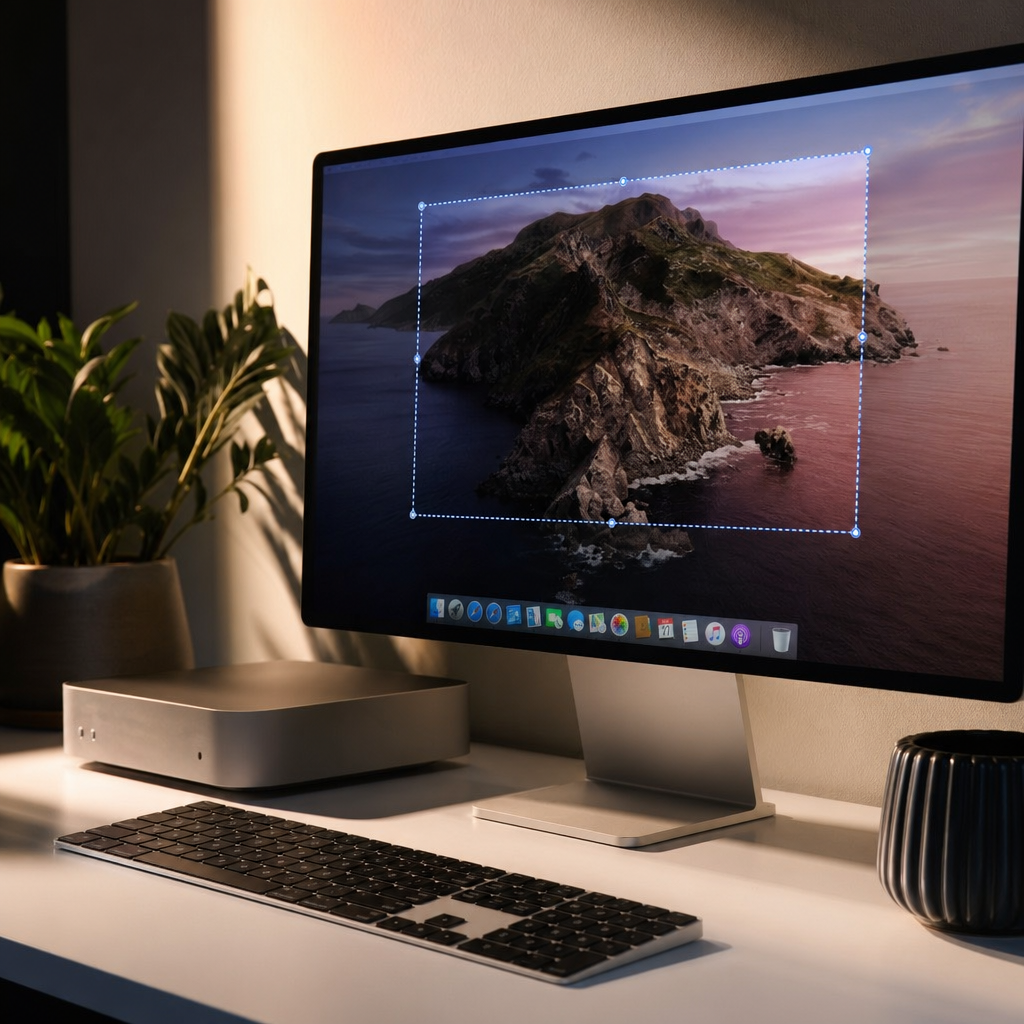
Shift + Command + 4 turns your cursor into a crosshair. You click and drag to select exactly the area you want to capture. This is the one you will use most often day to day. It is precise, quick, and means you are not cropping screenshots afterwards. If you tap the spacebar after pressing the shortcut, the crosshair turns into a camera icon and you can click any window to capture just that window with a clean drop shadow around it.
Shift + Command + 5 opens the Screenshot toolbar, which is where things get properly useful. A small control bar appears at the bottom of your screen with five options: capture entire screen, capture selected window, capture selected portion, record entire screen, and record selected portion. The last two are great for creating quick video walkthroughs, which I use constantly when explaining how to do something on a computer to family members who are not in the room.
There is a fourth shortcut worth knowing: Shift + Command + 6 captures the Touch Bar if your Mac has one. Most newer Macs do not, but if you have a MacBook Pro from 2016 to 2021, this one is for you.
Using the Screenshot App for More Control
The Screenshot app (Shift + Command + 5) is not just a toolbar, it is a proper tool. Once it is open, click Options to see what it can do.
You can change where screenshots are saved. By default they go to the Desktop, which gets messy fast. You can redirect them to your Documents folder, a custom folder, Clipboard (so you can paste directly without saving a file), Mail, Messages, or Preview. Changing the save location to a dedicated Screenshots folder takes about five seconds and keeps your desktop tidy.
The timer option is underrated. You can set a 5 or 10 second delay before the screenshot fires. This is perfect for capturing dropdown menus, hover states, or anything that disappears the moment you touch the keyboard. I used this just recently to capture a settings menu that kept closing every time I tried to screenshot it.
Show Floating Thumbnail is on by default and lets you mark up the screenshot before it saves. Float it, click it, and you get access to all of Markup: arrows, shapes, text, a highlighter, and a signature tool. For sending annotated screenshots to teachers, family members, or tech support, this is genuinely useful.
Where Your Screenshots Are Saved
By default, Mac saves screenshots to your Desktop with a filename like “Screenshot 2026-01-05 at 14.23.17.png”. They pile up quickly. You can change the save location in the Screenshot toolbar’s Options menu as described above.
If you add the Control key to any of the shortcuts (for example, Control + Shift + Command + 3), the screenshot is copied to your Clipboard instead of saved as a file. This is brilliant when you want to paste a screenshot straight into an email, a document, or a message without saving anything.
You can also find recent screenshots in the Finder. Open a Finder window, look in the sidebar under Favourites for Desktop (or wherever you have set screenshots to save), and they will be there sorted by date.
Common Problems and Fixes
The shortcut does not work. The most common cause is a conflict with another app’s keyboard shortcut. Open System Settings, go to Keyboard, then Keyboard Shortcuts, and look under Screenshots to make sure the shortcuts are enabled. Dropbox and some window management apps are frequent offenders for grabbing the same key combinations.
Screenshots look blurry when shared. On Retina displays, Mac captures at full Retina resolution, which produces very large files. If you are pasting into something that resizes them down, they can appear blurry. Sharing the original PNG file directly rather than embedding it usually solves this.
The thumbnail disappears before I can click it. It only sticks around for a few seconds. If you want more time, press Shift + Command + 5, click Options, and make sure Show Floating Thumbnail is ticked.
I cannot find where the file saved. Press Shift + Command + 5, click Options, and the Save To section shows your current save location.
Tips Most Guides Skip
Paste directly into apps. Use Control + Shift + Command + 4 to copy a selected area straight to the Clipboard, then paste it into Slack, Teams, Notes, Pages, or any app that accepts images. No file saved, no desktop clutter.
Rename screenshots in bulk. If you have built up a backlog of “Screenshot 2026-01…” files, select them all in Finder, right-click, and choose Rename. You can add a prefix or replace the whole name in one action.
Use Preview for quick editing. Open any screenshot in Preview and you have the Markup toolbar: crop, resize, adjust colours, add annotations, and export in different formats. It is more capable than most people realise.
Consider CleanShot X for heavier use. If you take a lot of screenshots for work or content creation, CleanShot X adds a scrolling capture mode, a dedicated screenshot history, and better annotation tools than Apple’s built-in option.
The Family Angle
If you have kids using school MacBooks or family Macs, the screenshot shortcut is one of the first things worth teaching them. It is useful for saving homework instructions, capturing error messages to show a teacher, or saving something interesting online without needing to download files.
The screen recording feature (Shift + Command + 5, then the record icon) gets a lot of use with teenagers, whether they are creating tutorial content, recording gameplay, or showing a friend how to do something in an app.
One practical tip for younger kids: change the default save location to a named folder rather than the Desktop. It keeps things tidy and means you can easily see what they have been screenshotting if you want a quick check-in.
For older Macs running macOS Mojave or earlier, the Screenshot app does not exist. Stick to Shift + Command + 3 and Shift + Command + 4 for full screen and selected area captures respectively.
If your child is doing any computing coursework, knowing the difference between a full screenshot, a cropped screenshot, and copying to the Clipboard is genuinely useful digital literacy to have locked in early.
If you found this helpful, there are plenty more practical guides landing regularly at Tech Dads Life. Join the newsletter at Tech Dads Life on Beehiiv for a weekly roundup of the best tech tips, gear picks, and family-friendly how-to guides. No spam, just useful stuff.