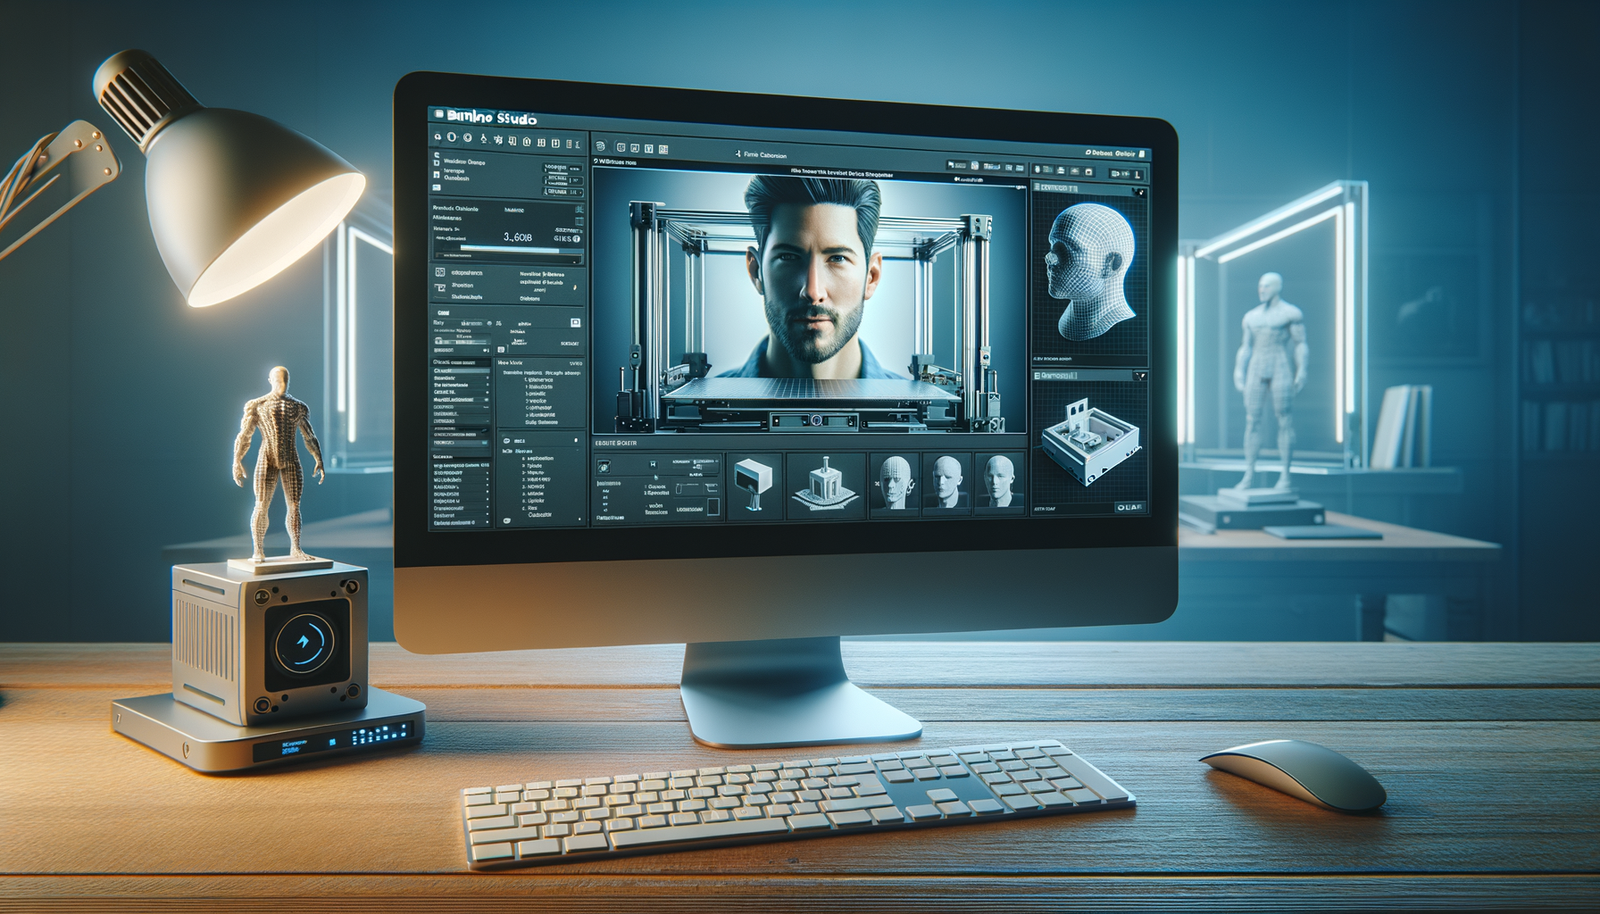
If you’ve just unboxed a Bambu Lab printer and found yourself staring at a piece of software wondering where on earth to begin, you’re in good company. I felt exactly the same way the first time I fired up Bambu Studio with my P2S sitting in the garage ready to go. The printer itself is impressively polished out of the box, but the slicer, the software that turns your 3D model into actual print instructions, has enough options to make your eyes water if nobody walks you through it. This guide is for you if you’ve never sliced a model in your life, or if you’ve had a go and ended up with spaghetti plastic and a bad mood.
The good news is that Bambu Studio is genuinely one of the friendlier slicers out there. Built by Bambu Lab themselves, it’s purpose-built for their printers and removes a lot of the guesswork that used to come with 3D printing . By the end of this guide, you’ll have imported a model, chosen your settings sensibly, dealt with supports, looked at multi-colour options, and sent your first print off to the machine. Let’s get into it.
Before You Start
Bambu Studio is free to download from the Bambu Lab website. It is open-source software and it changes regularly, so do not worry if your screen looks slightly different from a screenshot in an older guide. The core workflow is still the same: prepare the model, slice it, preview it, then send it to the printer.
One thing worth knowing upfront: you’ll need a Bambu account to use it fully, and some features such as cloud printing send data through Bambu Lab’s services. If that’s something you feel strongly about, read the privacy settings before you dive in and consider local/LAN options where your printer supports them. Your printer will also need to be bound to Bambu Studio before you can send prints wirelessly. You can do this via the Bambu Handy mobile app or through the desktop client itself. Get that done first and you’ll save yourself a frustrating pause at the finish line.
My own beginner rule is simple: do not change ten settings at once. Bambu printers are good enough that the default profiles are usually a better starting point than a random tuning profile from a forum. Change one thing, print, inspect the result, then change the next thing. It is slower on day one and much faster by day ten.
Step 1: Install and Set Up Bambu Studio
Download the installer from Bambu Lab’s website and run it. Once you open the software for the first time, a quick setup wizard walks you through the essentials.
Choose your region. The first screen asks where in the world you are. This connects you to the nearest server, which matters for remote printing and cloud features. Select your region and move on.
Select your printer and nozzle. Pick your specific model from the list. Bambu Studio supports the A1, A1 Mini, P1P, P1S, X1 Carbon, H2D, and X2D. Most printers ship with a 0.4mm nozzle, so unless you’ve swapped it out, leave the nozzle setting as default.
Choose your filaments. The wizard asks which filaments you’re planning to use. It’s worth ticking everything you’ve got, or at least the materials you own right now. You can always update this later. Bambu has ready-made profiles for PLA, PETG, ABS, TPU, and more, so don’t skip this step. It saves you a lot of manual configuration down the line.
[Screenshot: the setup wizard filament selection screen, with PLA ticked]
Once the wizard is complete, you’ll land on the main Bambu Studio interface. The layout follows a simple three-tab workflow across the top: Prepare, Preview, and Print. Everything flows left to right, which actually makes it quite intuitive once you know what you’re looking at.
Step 2: Import Your Model
This is satisfyingly simple. Find your 3D model file (Bambu Studio accepts .STL, .OBJ, and .3MF formats) and drag and drop it directly into the workspace. You can also go to File > Import if you prefer.
[Screenshot: a model loaded in the Prepare tab, centred on the virtual build plate]
Your model will appear on the virtual build plate. At this point, take a moment to look at how it’s sitting. Orientation matters more than most beginners realise. You want the flattest or most stable face of the model sitting on the plate, with the tallest parts pointing upward. There’s an Auto Orient button in the left toolbar that will make a sensible attempt at this for you, and most of the time it does a decent job. Give it a click and see what it suggests before you start repositioning things manually.
Step 3: Choose Your Settings
This is where people tend to either overcomplicate things or accidentally leave something important on the wrong value. Here’s what to focus on.
Bed type. Just below your printer selection, you’ll see a dropdown for bed plate type. Bambu printers typically come with a Cool Plate (for PLA), an Engineering Plate (for PETG and ABS), or a High Temp Plate. Match this to the bed surface you actually have installed. Using the wrong one is a surprisingly common reason prints don’t stick.
Filament profile. Select the filament type you’re using from the dropdown. If you’re using Bambu’s own filament with an RFID chip, the printer will detect it automatically and load the profile for you. Don’t override it. For third-party spools, pick the relevant Generic profile (Generic PLA, for example) and leave the temperature settings alone unless you see a specific problem.
Process preset (layer height). For most prints, the 0.20mm Standard preset is your best starting point. It’s a solid balance between print time and quality. Dropping to 0.12mm will give you finer detail but roughly double your print time, and honestly, the difference is often hard to spot on everyday prints. If you just want a rough prototype or functional part, 0.28mm is fine and prints faster, but the layer lines will be visible.
Variable Layer Height. For anything with organic shapes, such as figurines, busts, or curved decorative objects, turn this on from the left toolbar. Bambu Studio will automatically use thin layers where the model has fine detail and thicker layers on flat sections, giving you better results without the full time penalty of printing everything at 0.12mm. It’s a genuinely clever feature.
The Settings I Leave Alone at First
When you are new, the temptation is to start fiddling with speed, acceleration, wall order, infill pattern, cooling, retraction, and every other advanced option because the settings are right there. Resist it for the first few prints. The default Bambu profiles are doing a lot of work in the background, and changing one obscure setting can create a problem that is hard to diagnose.
For a first functional print, I normally leave the speed alone, use 15% infill, keep the standard wall count, and choose the standard 0.20mm profile. If the print is a hook, bracket, mount, hinge, or anything that will take load, I increase walls before I increase infill. Extra walls usually make practical parts stronger in the places that matter without wasting as much filament.
For decorative prints, the order changes. I care more about layer height, seam position, supports, and surface finish. A 0.12mm layer height can look much better on curved shapes, but it can also turn a two-hour print into a four-hour one. Preview the time estimate before committing, especially if the printer sits anywhere near family life.
Step 4: Set Up Supports
Supports are the temporary scaffolding that holds up overhanging sections of your model during printing. Without them, anything that hangs out over thin air will droop or fail.
In the Prepare tab, look for the Support toggle in the right-hand panel. Switching this on tells Bambu Studio to automatically calculate where your model needs support. For most prints, the automatic detection is good enough. It’ll look at overhanging angles and place supports where they’re needed.
[Screenshot: the support toggle in the process settings panel, enabled]
There’s also an option to use tree supports rather than standard blocky supports. Tree supports grow up from the build plate like branches and only touch the model where strictly necessary, making them easier to remove and leaving a cleaner surface. For organic models or anything with a lot of fine overhangs, tree supports are usually worth switching to.
Once you’re happy with the settings, hit Slice in the bottom right corner.
Step 5: Multi-Colour Setup (If You Have an AMS)
If you’re running an AMS (Automatic Material System), Bambu Studio has multi-colour support built right in. You can assign different filaments to different parts of your model from the Prepare tab, with each filament slot in the AMS shown as a separate colour option.
For models you’ve downloaded as multi-colour .3MF files, the colour assignments often come pre-configured. Just check they match what’s loaded in your AMS and you’re ready to go.
One newer feature worth knowing about: Bambu Studio now includes an experimental Colour Mixing option. You can access it by clicking “Add Mixed Filament” at the bottom of the filament list. It lets you blend two or three filaments of the same type to create new shades, either in a fixed ratio or as a gradient transition. It’s marked as experimental, so treat it as something to play with rather than rely on for critical prints, but it’s an interesting capability.
Step 6: Preview and Send to Printer
After slicing, Bambu Studio drops you into the Preview tab. Here you can scrub through the layers using the slider on the right, watching exactly how the print will build up layer by layer. The histogram on the right also breaks down estimated time per section. If something looks wrong, supports in a weird place or a layer that doesn’t seem right, this is your last chance to catch it before it goes to the printer.
[Screenshot: the Preview tab with layer slider and time histogram visible]
When you’re satisfied, click Print. If your printer is connected via WiFi and bound to your account, you’ll be prompted to confirm and the job is sent directly to the machine. Alternatively, you can export the sliced file and transfer it via SD card.
If It’s Still Not Working
Print won’t stick to the bed. Check you’ve selected the correct bed type in the settings, and that your physical print surface is clean. A wipe with isopropyl alcohol before each print makes a real difference.
Sliced file looks wrong in Preview. Go back to the Prepare tab and check your model orientation. Sometimes an upside-down import causes Bambu Studio to generate a confusing support structure. Use Auto Orient and re-slice.
Printer not showing up for wireless printing. Make sure the printer is on the same WiFi network and properly bound to your Bambu account. Re-binding through the Bambu Handy app usually sorts this quickly.
My First-Print Checklist
Before sending anything to the printer, I run through the same quick checklist. It sounds fussy, but it catches most beginner mistakes:
- Is the right printer selected?
- Is the right build plate selected?
- Is the filament type correct?
- Is the model flat on the bed?
- Does Preview show supports where I expected them?
- Does the estimated print time make sense?
- Is there enough filament loaded to finish the job?
The Preview tab is the most underrated part of Bambu Studio. It is where you spot impossible overhangs, silly support decisions, accidental floating parts, and colour changes that do not line up with the model. If something looks strange in Preview, do not assume the printer will somehow solve it. Go back, fix the setup, and slice again.
Once you’ve sliced your first model and watched it print successfully, everything starts to click into place. The workflow really does become second nature after a couple of sessions. If you’re still stuck after following all of this, drop me a message or come and ask in the Tech Dads Life newsletter community. Someone there will almost certainly have seen the same issue.
Want more 3D printing guides, honest kit reviews, and tech that actually makes sense for family life? Join the Tech Dads Life newsletter over at techdadslife.beehiiv.com . It lands in your inbox every week, no faff, no spam.